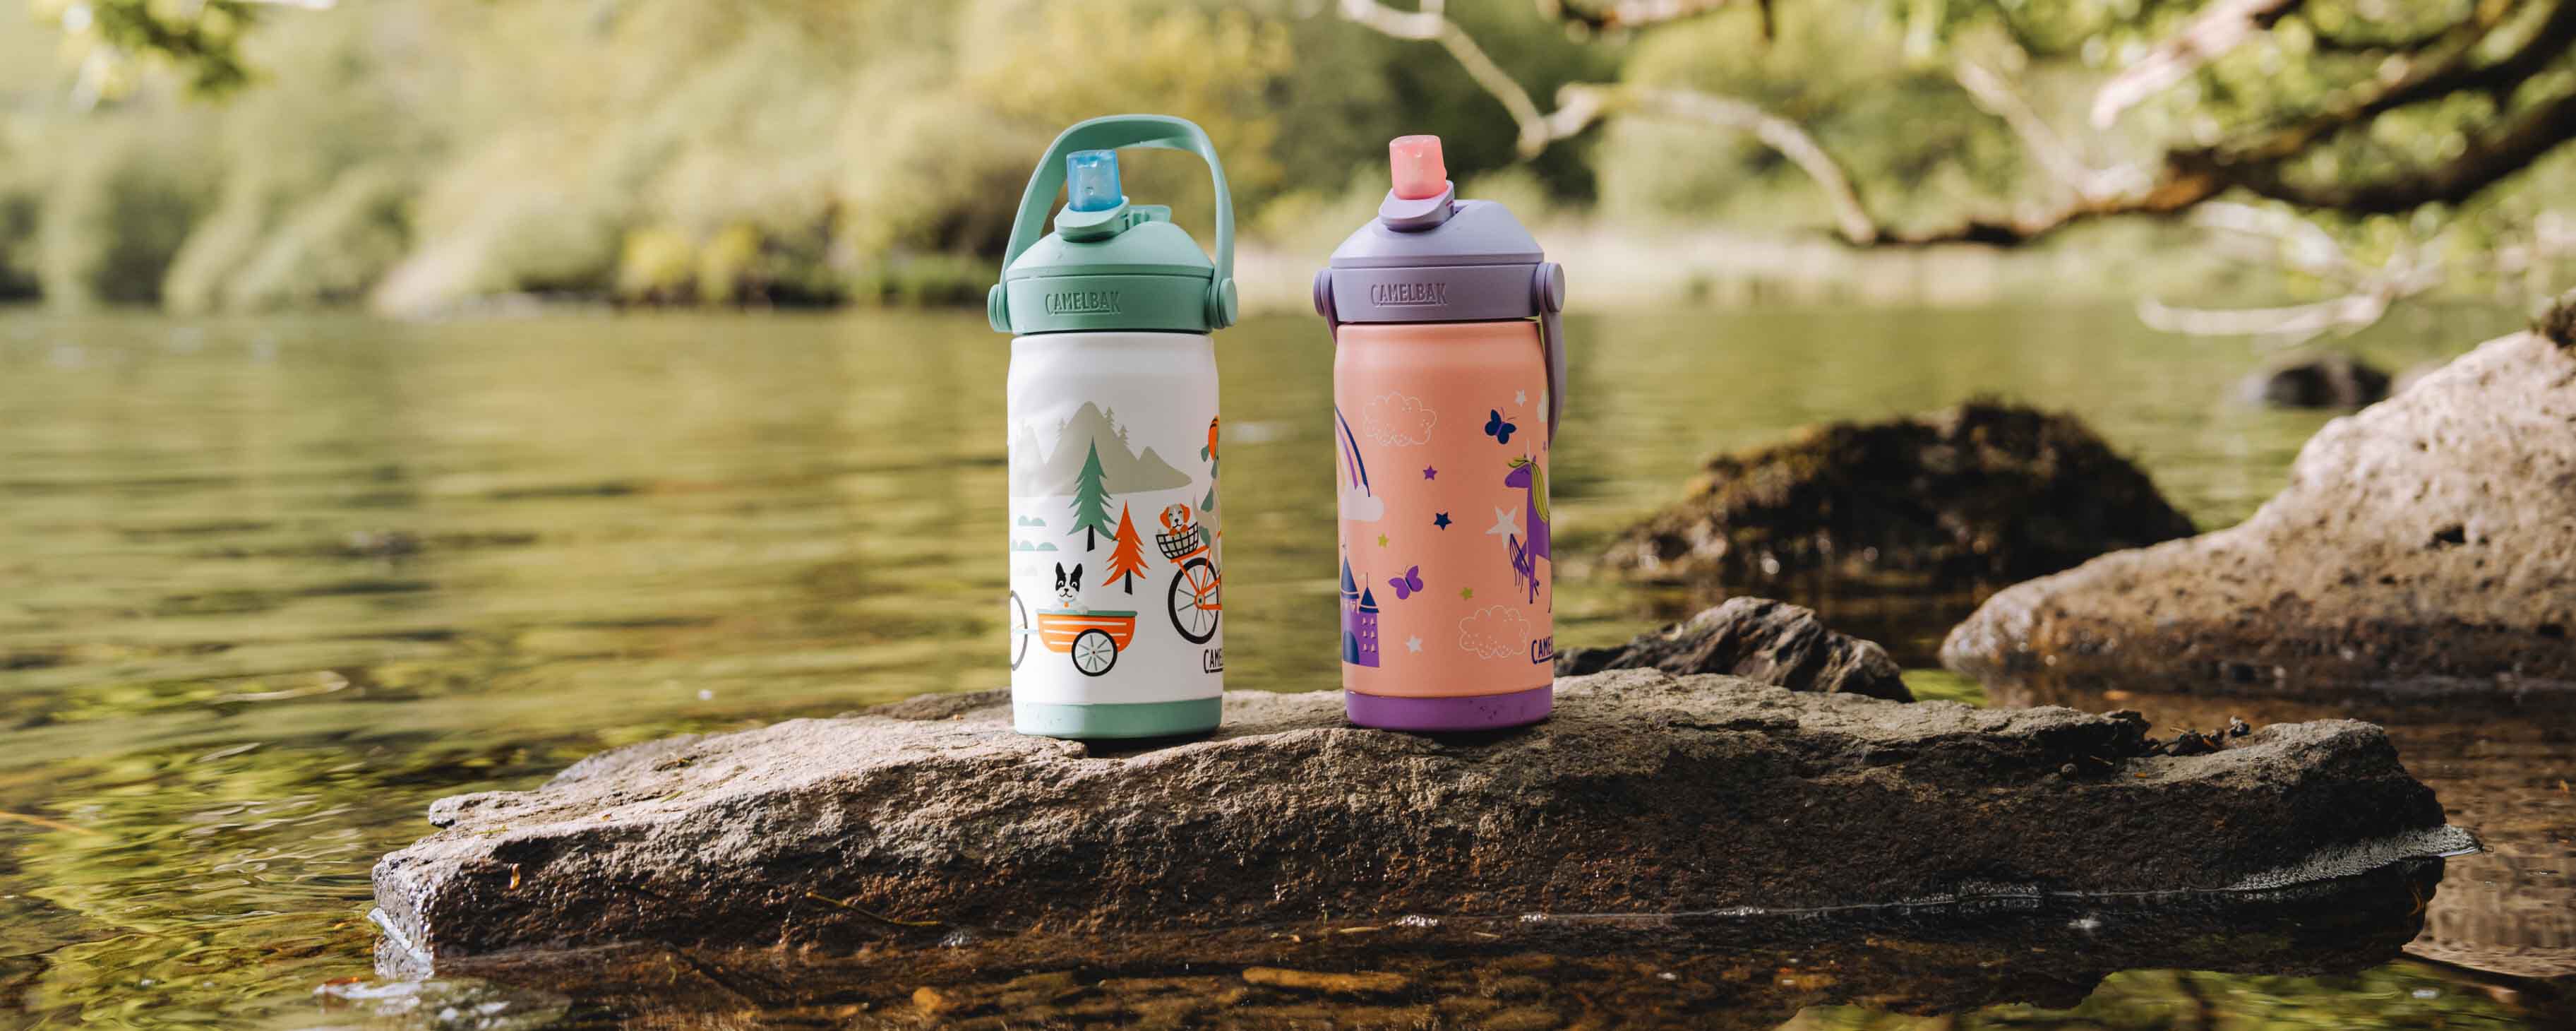
Start With Your Child’s Routine
The same bottle may not work equally well for a classroom, sports practice and a warm-weather outing. Still, the same questions can guide the decision:
- Is water available to refill during the activity?
- How much is typically left at the end?
- Does it stay in one place or travel with the child?
- Is keeping the water cold the priority, or is carrying more of it the priority?
- How long does it need to last?
- Can the child open, drink from and close it without help?
- Will it be used and cleaned every day?
Use the child’s current bottle as a starting point. If water regularly comes home unused, the current capacity may already be enough. If it’s empty well before another refill is available, consider moving up in capacity.
Capacity shouldn’t be evaluated alone — material and insulation also affect how much weight the child ends up carrying.
Should You Choose a 12-, 14- or 16-Ounce Water Bottle?
There’s no universal best size for every child. Choose capacity based on the time between refills, how much water the child typically uses, and how the bottle will be carried.
A larger bottle holds more water, but it also weighs more when filled. Insulated construction adds weight too, which means a smaller bottle isn’t always the lightest option.
| Capacity | May Work Well When | Tradeoff to Consider |
|---|---|---|
| 12 oz | Refills are available, use covers a shorter portion of the day, or some water typically remains after use | Least water of the three sizes; an insulated 12 oz bottle may weigh more than a larger lightweight one |
| 14 oz | The child needs more than 12 oz while still balancing weight and activity length | A middle capacity — a lightweight build won’t hold cold as long as an insulated one |
| 16 oz | Refill access is limited, the child regularly finishes a smaller bottle early, or the water needs to last through a longer activity | Most capacity, but adds the most weight when filled |
Before choosing a capacity, ask:
- How much water is usually left in the current bottle?
- Does the child regularly run out before another refill is available?
- How many hours does the water need to last?
- Does it stay in one place or travel with the child?
- How much is the child already carrying?
- Is keeping it cold a priority?
- Will the child regularly use the additional capacity?
Key point: Capacity and weight don’t always increase together the way shoppers expect. A lightweight 14 oz bottle can weigh less than an insulated 12 oz one, even though it holds more water. Compare capacity, listed empty weight, material and insulation together — not capacity alone — to estimate how heavy it will actually be.
Choose the amount the child is likely to use without adding more weight than the routine requires.
Lightweight vs. Insulated: Which Should You Choose?
Choose lightweight when reducing what the child carries is the priority. Choose insulated when keeping water cold for several hours matters more.
| Lightweight | Insulated |
|---|---|
| Prioritizes lower carrying weight | Prioritizes temperature retention |
| More practical when carried throughout the day | Useful when it remains unrefrigerated |
| Works well when cold refill water is available | Works well when cold refill water is unavailable |
| May offer more capacity with less added weight | Adds weight before water is even added |
| May let the child see how much water remains | Helps water stay cold during school or activities |
Choose Lightweight When:
- The child carries it throughout the day
- They already carry books, lunch, electronics or activity gear
- It travels between school and after-school activities
- Cold refill water is available
- Lower carrying weight matters more than temperature retention
- Seeing the remaining water level would help
Choose Insulated When:
- It will sit unrefrigerated for several hours
- Part of the day is spent outdoors
- It’s used during warm-weather activities
- Cold refill water isn’t available
- The child prefers cold water
- It mostly stays in one location
Water adds weight to every bottle, while insulated construction adds weight before it’s even filled. Evaluate it as it will actually be used, not just by how it feels empty.
The right choice depends on which matters more for the child’s routine: lower carrying weight or longer temperature retention.
How to Test Whether Your Child Can Use It Independently
A child may be able to drink through a straw but still need help carrying, opening or closing the bottle. Test the complete routine filled to the level it will normally be carried at.
Step 1: Fill it with the amount the child will normally take to school, practice or an outing. Testing it empty won’t show whether the filled weight is manageable.
Step 2: Have the child carry it — ask them to pick it up, use the handle, and carry it briefly. It should feel manageable during normal use.
Step 3: Open the straw mechanism without assistance. The child should recognize when it’s fully open and ready to use.
Step 4: Drink through the straw comfortably, without struggling with the flow, position or mechanism.
Step 5: Close it completely. The child should recognize the difference between partially closed and fully closed.
Step 6: Repeat the full routine several times. Repetition confirms it’s consistently manageable, not just easy to use once.
If a step remains difficult, consider whether the issue is filled weight, capacity or the straw mechanism itself. A different size or lighter construction may fit the routine better.
Choosing a Kids’ Water Bottle for School, Sports and Outings
The same selection factors apply across activities, but which one matters most can shift depending on where and how the bottle gets used.
For School
Refill access and independent use tend to matter most for a school-day bottle, since it needs to work without adult help and fit into a backpack alongside everything else.
Prioritize:
- Refill access during the school day
- How long the water needs to last
- Whether it stays in one place or is carried throughout the day
- Its weight alongside other school items
- Independent opening and closing
- Cleaning and drying before the next school day
A lightweight bottle tends to work well when the child carries it all day or has access to cold refills. Insulated construction is more useful when water needs to stay cold for several hours. Before the first school day, fill it and have the child practice the full routine — carrying, opening, drinking and closing — since testing it empty won’t reveal the same issues.
For Sports
Insulation tends to matter more for sports than for school, since practices and games often run for hours with no refrigeration nearby and higher water loss to sweat.
Prioritize:
- Activity length
- Refill availability
- Indoor versus outdoor conditions
- How long it will remain unrefrigerated
- Whether it stays in one location or travels with the child
- How quickly the child can open, drink from and close it without help
Insulated construction is generally more useful for outdoor activities and warm conditions. Lightweight bottles are more practical for shorter, indoor activities or when reliable cold refills are available. Favor more capacity when the activity runs long and refill access is limited — but avoid defaulting to the largest size if water regularly comes home unused.
For Day Trips and Everyday Outings
Refill unpredictability is the main variable for outings, since access to cold water and cleaning routines can vary more than they do for a fixed school or sports schedule.
Prioritize:
- Time between refills
- How it will be carried
- Weather and temperature
- Whether it moves between several locations
- Whether the child can manage it independently
- Whether it can be cleaned before the next use
Choose the smallest capacity that reliably lasts until the next refill while still supporting the child’s routine.
How to Clean a Kids’ Straw Water Bottle
Regular cleaning should cover every component that touches the beverage — the body, lid, straw and drinking valve, not just the exterior.
Always review the specific bottle’s care instructions before cleaning, and don’t force apart components that aren’t designed to be removed.
Step 1: Empty it. Don’t let liquid sit for an extended period, and clean it promptly after carrying anything other than water.
Step 2: Separate the removable components — lid, straw, drinking valve, seals or other detachable parts — per the care instructions. Cleaning them separately makes it easier to reach the full drinking system.
Step 3: Wash the body and lid with warm water and mild dish soap when hand-washing, using an appropriately sized bottle brush for the bottom, sides and opening. If using a dishwasher, confirm each component is dishwasher-safe first and follow its placement instructions.
Step 4: Clean the straw and drinking components separately. Run warm, soapy water through the straw and use a narrow straw brush for the interior rather than relying on rinsing alone. A smaller detail brush helps with lid openings and connection points.
Step 5: Rinse every component thoroughly until no soap remains, including inside the straw and around lid connection points.
Step 6: Let every part dry separately in a well-ventilated area. Avoid reassembling while moisture remains inside the straw or drinking components.
Step 7: Reassemble and inspect. Before refilling, confirm the straw is connected correctly, the valve is positioned properly, seals and components are secure, and nothing shows wear or damage. Confirm the lid closes as intended.
Replace any straw, valve, cap or seal that becomes worn, damaged or difficult to clean.
What Cleaning Tools Help?
A kids’ straw bottle cleaning setup may include a bottle brush for the body, a narrow brush for the straw interior, a small detail brush for lid openings and connection points, mild dish soap, and a clean drying area with good airflow. Choose brushes that fit without forcing or damaging the components.
CamelBak cleaning tools and compatible replacement components are available in the Accessories collection.
How Often Should You Clean It?
Clean it regularly according to its care instructions, including the lid, straw, valve, seals and other removable components — not just the body. Let every part dry completely before reassembling or storing it. For daily use, factor in the time needed to wash and fully dry all components before the next use.
Frequently Asked Questions
What Size Water Bottle Should a Child Take to School or Sports?
Base it on refill access and activity length rather than age. Reliable refill access — like school fountains — supports a smaller, lighter bottle. No refill access, common at practices and games, favors more capacity, typically 14–16 oz.
Should I Choose 12, 14 or 16 Ounces if My Child Can’t Refill During the Activity?
16 oz gives the most capacity but is heaviest when filled. A 14 oz lightweight bottle often balances capacity and weight well. A 12 oz insulated bottle can work for a child who values cold water and doesn’t need the highest capacity.
Is a Lightweight or Insulated Water Bottle Better for School?
A lightweight bottle tends to work better when the child carries it all day or has access to cold refill water. Insulated construction helps more when the bottle sits unrefrigerated for several hours or the child prefers cold water.
Is an Insulated Water Bottle Worth the Extra Weight for Sports?
Often yes for outdoor practices and games, where the bottle sits unrefrigerated for hours. A lightweight bottle tends to be more practical for indoor activities, shorter practices, or when cold refills are reliably available.
Can a 14-Ounce Bottle Weigh Less Than a 12-Ounce Bottle?
Yes. Material and insulation affect weight as much as capacity does — a lightweight 14 oz bottle can weigh less than an insulated stainless-steel 12 oz one. Compare material, insulation and listed empty weight alongside capacity.
How Can I Tell if a Water Bottle Is Too Heavy for My Child?
Fill it to the level it will normally be carried at, then have the child pick it up, carry it, drink from it and close it — evaluated as part of their full daily routine, not tested empty.
Are Straw Water Bottles Practical for School and Sports?
Yes, as long as the child can open the mechanism, drink comfortably, and close it completely without help. For activities with short breaks, confirm they can do this quickly and consistently, and that the straw, valve, lid and seals fit the household’s cleaning routine.
How Do You Clean the Straw in a Kids’ Water Bottle?
Remove it per the bottle’s care instructions, wash it with warm soapy water using a narrow straw brush for the interior, rinse thoroughly, and let it dry fully before reconnecting.
Can Kids’ Water Bottles Go in the Dishwasher?
It varies by bottle and component — check care instructions for the body, lid, straw, valve and seals individually before placing any part in the dishwasher.
When Should a Straw, Valve or Lid Be Replaced?
Replace any component that becomes worn, cracked, damaged or difficult to clean, and confirm any replacement is designed to work with that specific bottle.
Find the Right Water Bottle
Choose capacity based on how long the water needs to last before a refill, then decide whether lower carrying weight or insulation matters more for the child’s routine.
Before relying on it for school, sports or outings, test it while filled — the child should be able to carry it, open the straw mechanism, drink comfortably and close it completely without help. Finally, consider the full cleaning routine: the bottle, lid, straw, valve and removable components should be easy to wash, dry, inspect and reassemble between uses.