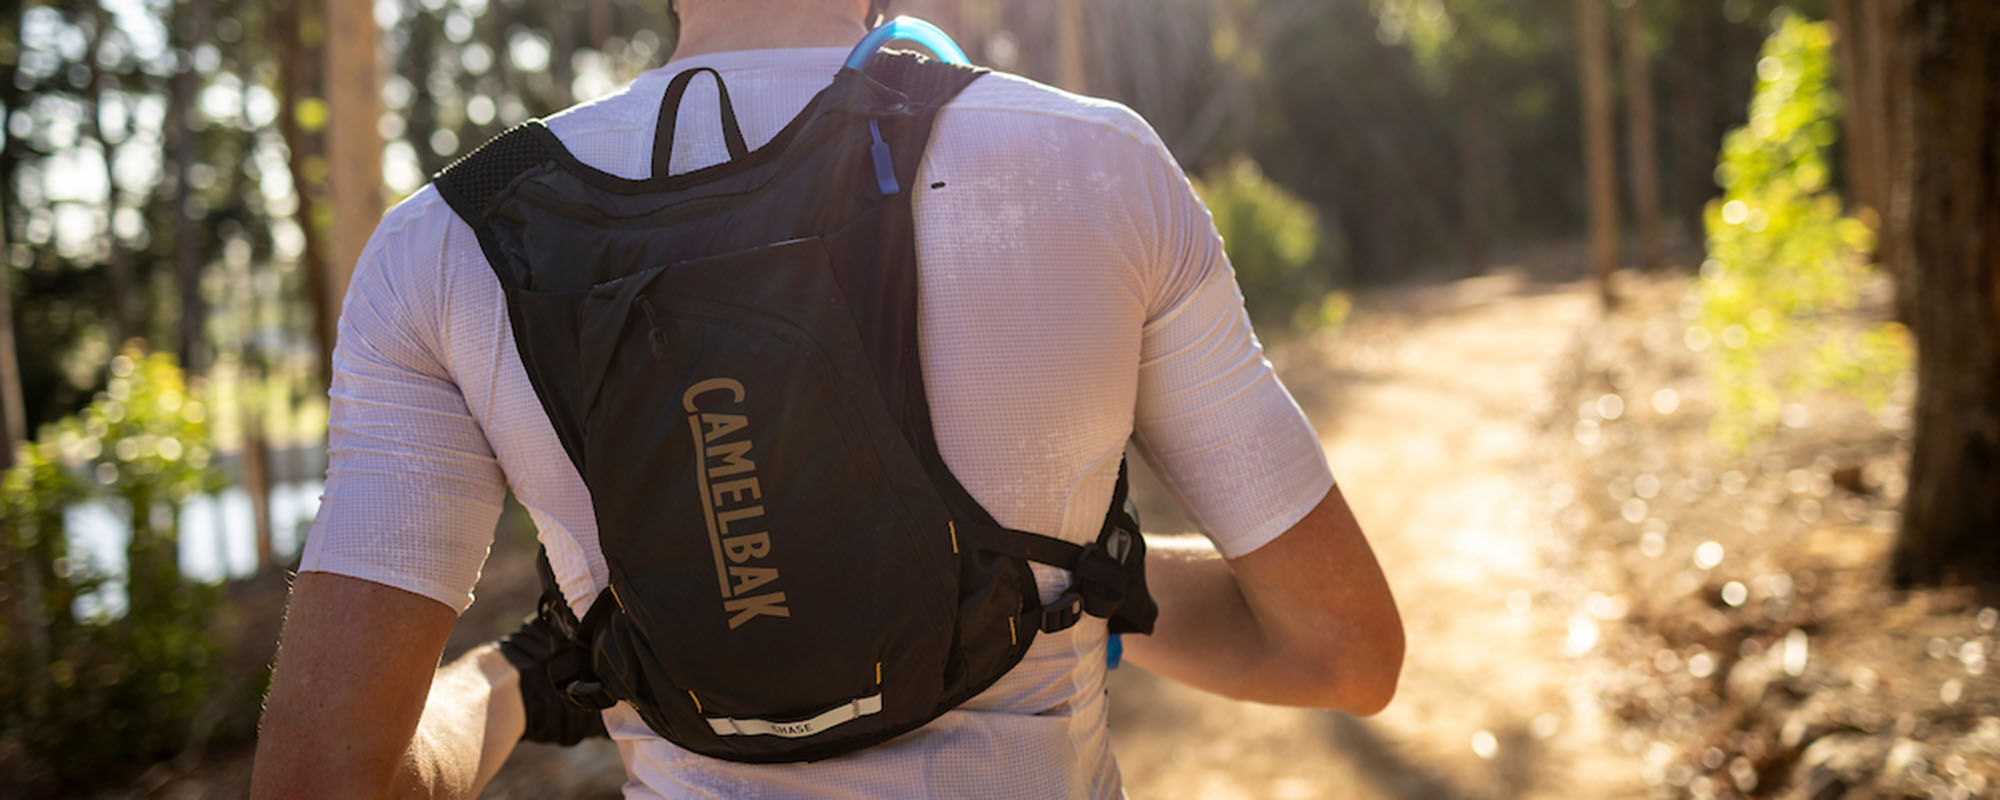
How Do You Choose a Bike Hydration Pack?
Choose a bike hydration pack by answering four questions:
- How long is your typical ride?
- How much water and gear do you carry?
- What type of terrain do you ride?
- How much load support do you need?
A short recreational ride may require only hydration and essential repair supplies. A longer or more technical ride may require additional food, tools, clothing or protective equipment.
Choose the smallest pack that comfortably carries your typical load. An oversized pack may add unnecessary bulk and allow the contents to shift unless the load can be compressed.
What Is the Difference Between Reservoir and Pack Capacity?
Reservoir capacity is the amount of water the reservoir can hold. Pack capacity is the total storage space available for the hydration system and other gear.
For example, a 12L bike hydration pack with a 3L reservoir does not carry 12 liters of water. The reservoir carries up to 3 liters of water, while the pack provides space for food, tools, clothing and personal items.
When Comparing Options:
- Use reservoir capacity to compare water-carrying volume.
- Use pack capacity to compare storage space.
- Do not assume a larger pack always includes a larger reservoir.
For a more detailed capacity comparison, see the 1.5L vs. 2L vs. 3L Hydration Reservoir Guide.
What Size Bike Hydration Pack Do You Need?
Short Rides
Consider a 1–1.5L reservoir with approximately 2.5–5L of pack capacity. This range may provide enough space for hydration, essential repair supplies, a snack and small personal items while maintaining a compact profile.
Everyday Trail Rides
Consider a 2L reservoir with approximately 7–9L of pack capacity. This range provides additional room for food, tools, tire-repair supplies and a lightweight layer without moving into a larger all-day pack.
Long or Technical Rides
Consider a 3L reservoir with approximately 12–14L of pack capacity. This range provides additional water and cargo space while supporting a more complete repair setup, extra food or compatible protective-equipment carry. Look for load compression and a supportive waist or hip belt to help stabilize the additional weight.
Gear-Heavy or All-Day Rides
Consider a 3L reservoir with up to 20L of pack capacity. The additional cargo space may be useful for clothing, food, tools, protective equipment or other ride-specific gear.
A larger pack does not need to be filled completely for every ride. Use compression features to keep a partial load close to the body.
How Does Riding Style Affect Pack Choice?
Riding style can influence which pack characteristics matter most, but ride duration and carrying needs should determine the final capacity.
Cross-Country Riding
Cross-country riders may prefer a lightweight, streamlined pack that remains stable during sustained pedaling. Prioritize low weight, back-panel ventilation and enough storage for essential repair supplies and nutrition.
Trail Riding
Trail riders may need a balance of water capacity, tool organization and storage for changing conditions. Look for a stable harness, accessible pockets, load compression and secure drinking-tube management.
Enduro and Technical Riding
Technical terrain places greater emphasis on stability and load control. Consider an adjustable sternum strap, a supportive waist or hip belt, compression straps and compatibility with the protective equipment you use.
Downhill and Bike-Park Riding
For lift-accessed or shorter downhill sessions, a compact, low-profile pack may provide enough capacity for hydration and essential gear. Consider how the pack works with a helmet, armor and the rider’s normal position on the bike.
Gravel Riding
For gravel and mixed-surface riding, consider route length, remoteness and the amount of storage already available on the bike. Prioritize sustained comfort, repair organization and a streamlined fit that remains stable across uneven surfaces.
How Should a Bike Hydration Pack Fit?
A bike hydration pack should sit close to the body without restricting breathing, interfering with a helmet or shifting as the rider changes position.
How Do You Adjust a Bike Hydration Pack?
- Load the pack. Add the water and gear you expect to carry.
- Adjust the shoulder straps. Tighten both sides evenly until the pack sits close to your back.
- Secure the sternum strap. Tighten it enough to stabilize the shoulder straps without restricting breathing.
- Adjust the waist or hip belt. Use it to support and stabilize larger loads when provided.
- Tighten the compression straps. Draw the contents closer to your body.
- Test the riding position. Lean forward, turn your head and move your shoulders as you would on the bike.
What Does a Proper Fit Feel Like?
A properly fitted bike hydration pack should:
- Sit centered on the back
- Feel snug but not restrictive
- Remain stable while riding
- Distribute the loaded weight evenly
- Allow normal shoulder and neck movement
- Avoid interfering with a helmet
- Remain comfortable in the riding position
What Are the Signs of Poor Fit?
Signs of poor fit include:
- Excessive movement
- Side-to-side shifting
- Shoulder or neck pressure
- Restricted breathing
- Numbness or tingling
- Helmet interference
- Uneven weight distribution
- The pack hanging too low
Always check the fit while the reservoir and storage compartments contain the expected load.
How Can You Reduce Pack Movement?
Pack movement usually results from incorrect sizing, improper adjustment or an unstable load.
To Keep the Pack Secure:
- Adjust it while fully loaded.
- Tighten both shoulder straps evenly.
- Use the sternum strap.
- Secure the waist or hip belt when provided.
- Position heavier items close to your back.
- Prevent loose items from shifting.
- Tighten compression straps around partial loads.
- Avoid carrying a small load in an oversized, uncompressed pack.
If the pack still shifts, it may be too large for the rider, incorrectly loaded or unsuitable for the intended riding style.
Frequently Asked Questions
What Size Hydration Pack Do You Need for a Two-Hour Ride?
A 1.5–2L reservoir with approximately 5–9L of pack capacity may be a practical starting point for many two-hour rides. Consider temperature, terrain, ride intensity, refill access and the amount of equipment you carry before choosing.
What Size Pack Works for Everyday Mountain Biking?
A pack with approximately 7–9L of capacity and a 2L reservoir may provide a useful balance for everyday trail riding. It can offer room for hydration, food, tools and a lightweight layer without the volume of a larger all-day pack.
When Should You Consider a 3L Reservoir?
Consider a 3L reservoir for longer rides, warm conditions or routes with limited refill access. Choose a pack with adequate stability and load support for the additional weight.
For a complete comparison, see the 1.5L vs. 2L vs. 3L Hydration Reservoir Guide.
Where Should a Bike Hydration Pack Sit?
A bike hydration pack should sit centered and close to the back. It should not hang low enough to move while riding or sit high enough to interfere with a helmet.
How Tight Should a Bike Hydration Pack Be?
The pack should be snug enough to limit movement but not so tight that it restricts breathing, circulation or shoulder movement.
Does a Bike Hydration Pack Need a Waist Belt?
A waist or hip belt can provide additional stability for larger reservoirs and heavier cargo. A compact pack carrying a lighter load may rely mainly on shoulder and sternum straps.
Key Takeaways
- Match pack capacity to ride length, terrain and equipment needs.
- Compare reservoir capacity and pack capacity separately.
- Choose the smallest pack that comfortably carries your typical load.
- Use load compression and supportive straps for larger capacities.
- Adjust and test the pack while it contains the expected water and gear.
Sources and Standards Referenced
- CamelBak® bike hydration-pack categories and product specifications
- General hydration carry-system design principles
- Common fit, stability and storage considerations for bike hydration packs
- Hydration and gear-carrying best practices for cross-country, trail, enduro, downhill and gravel riding
Shop Bike Hydration Packs
Choose a CamelBak bike hydration pack based on your ride length, terrain and carrying needs.